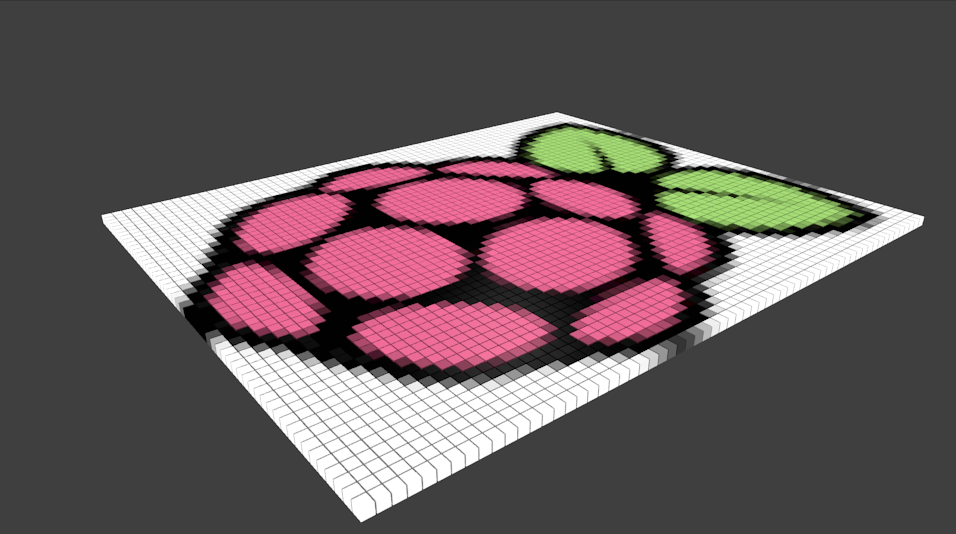
Logo Raspberry Pi en pixel-art 3d.
Distribution de travail : Kubuntu 11.10
1) Répertoire de travail :
[~] ➔ mkdir GRAPH3D
2) Téléchargement de Blender v2.69 :
[~/GRAPH3D] ➔ wget http://ftp.halifax.rwth-aachen.de/blender/release/Blender2.69/blender-2.69-linux-glibc211-i686.tar.bz2
3) Décompression
[~/GRAPH3D] ➔ tar xvfj blender-2.69-linux-glibc211-i686.tar.bz2
4) Lancement de Blender :
[~/GRAPH3D] ➔ cd blender-2.69-linux-glibc211-i686/
[~/GRAPH3D/blender-2.69-linux-glibc211-i686] ➔ ./blender
5) Ouvrir la fenêtre d’édition des images :
– [UV/Image Editor]
– [Image]
– [Open Image]
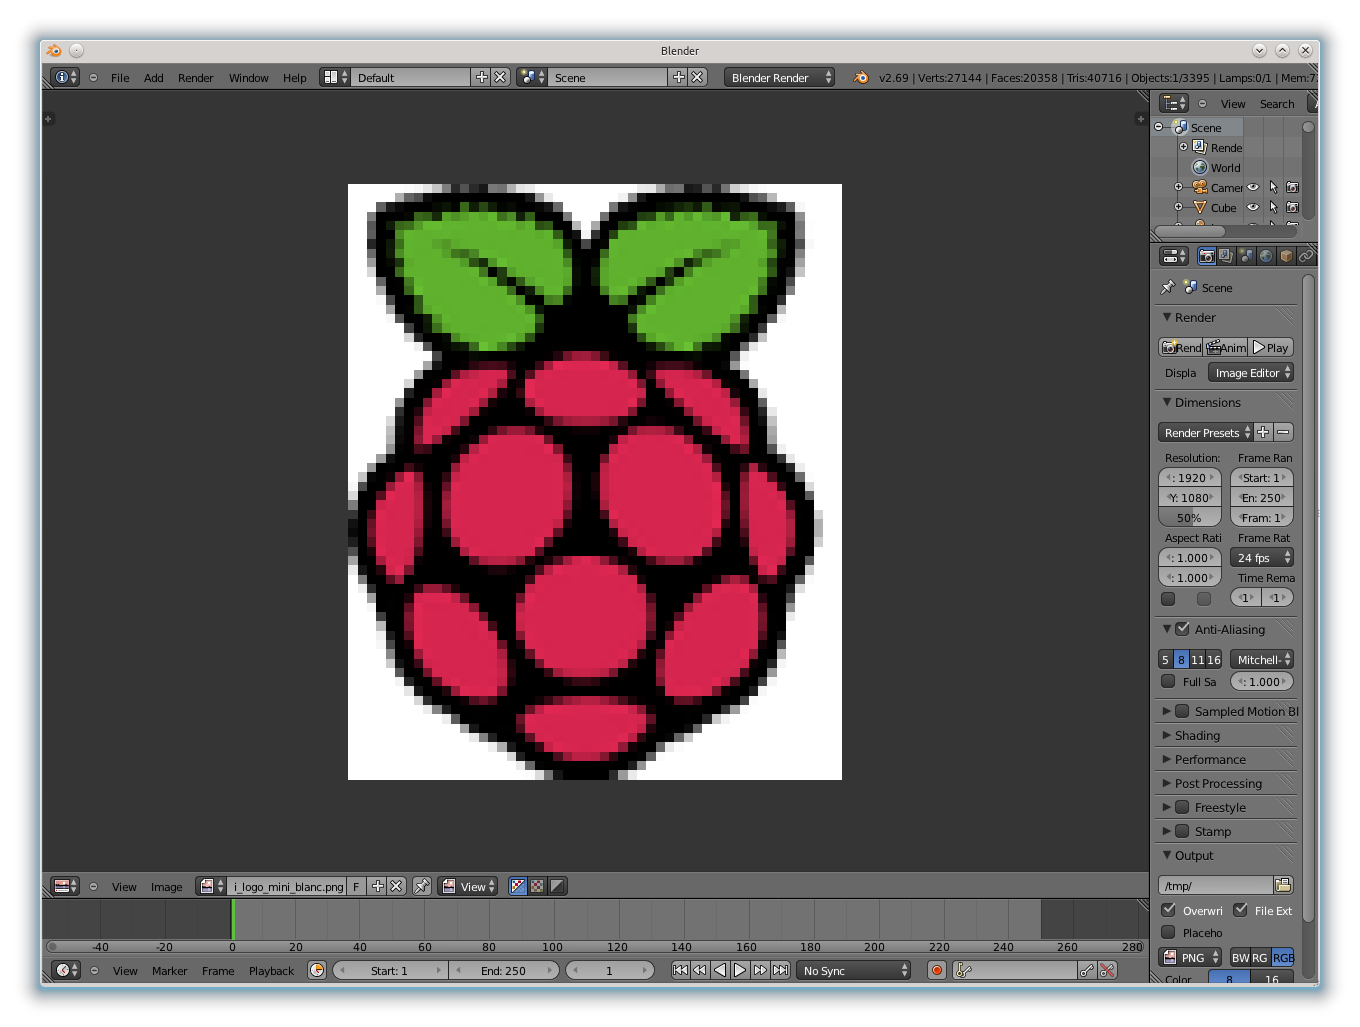
6) Charger l’image :
Logo : raspberrypi_logo_mini_blanc.png
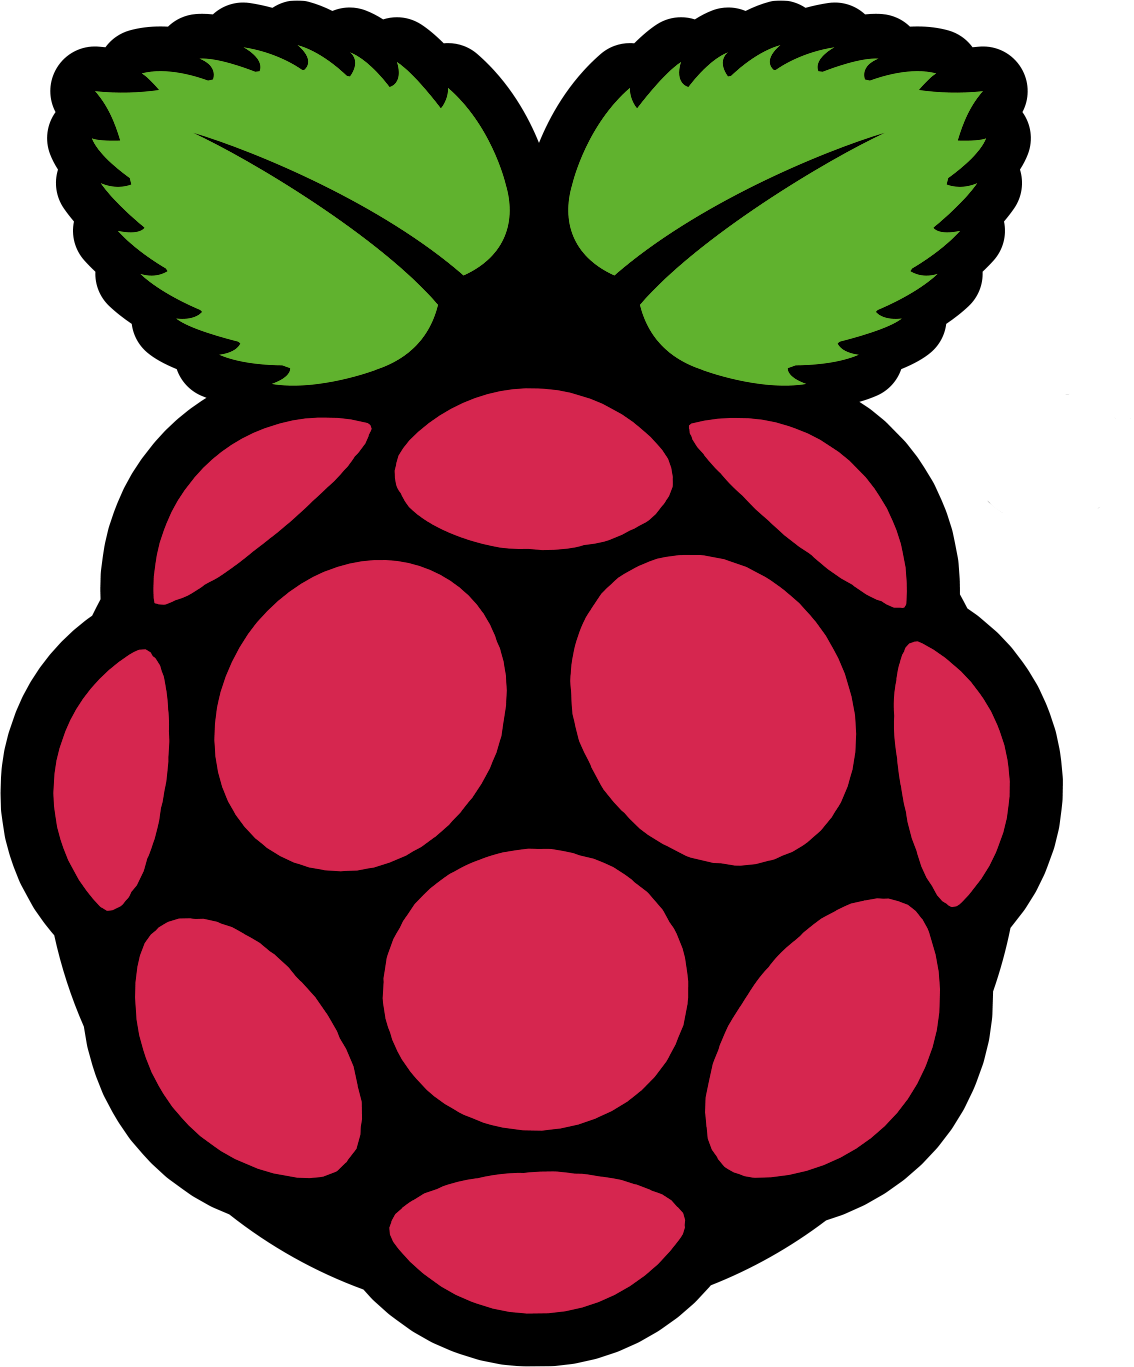
Logo original : raspberrypi_logo_big.png
– Sélectionner : raspberrypi_logo_mini_blanc.png
– [Open Image]
Le format de l’image est en .png avec une taille de 53×64 px.
Le fond est blanc.
7) Ouvrir la fenêtre de l’éditeur de script :
– [Text Editor]
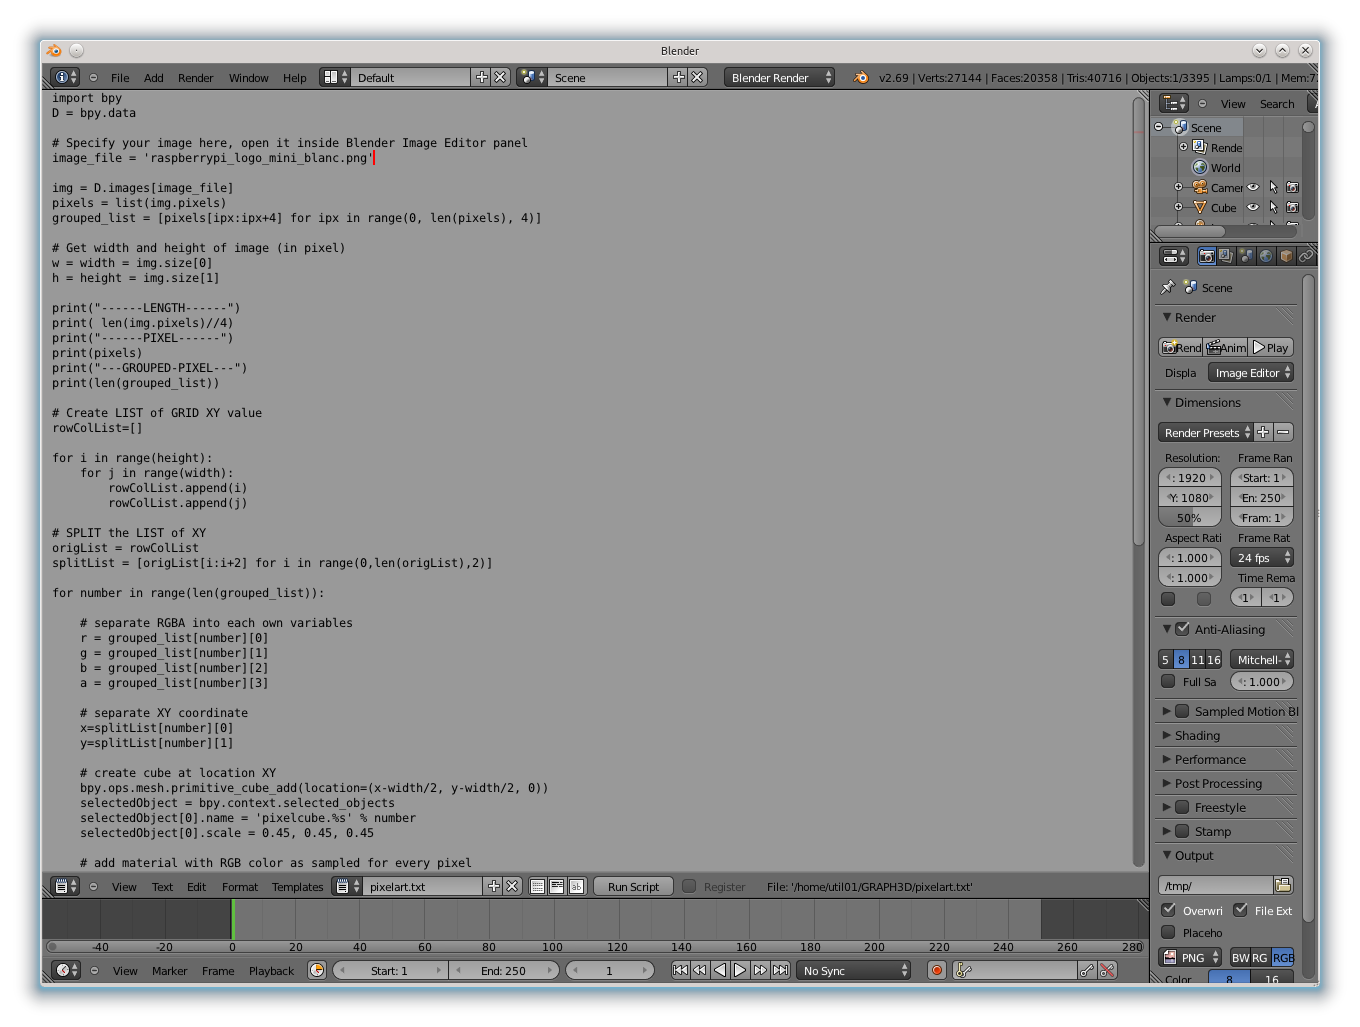
8) Script de pixel-art :
Script : pixelart.txt
Ouvrir :
pixelart.txt
Ajouter :
import bpy
D = bpy.data
# Specify your image here, open it inside Blender Image Editor panel
image_file = 'raspberrypi_logo_mini_blanc.png'
img = D.images[image_file]
pixels = list(img.pixels)
grouped_list = [pixels[ipx:ipx+4] for ipx in range(0, len(pixels), 4)]
# Get width and height of image (in pixel)
w = width = img.size[0]
h = height = img.size[1]
print("------LENGTH------")
print( len(img.pixels)//4)
print("------PIXEL------")
print(pixels)
print("---GROUPED-PIXEL---")
print(len(grouped_list))
# Create LIST of GRID XY value
rowColList=[]
for i in range(height):
    for j in range(width):
        rowColList.append(i)
        rowColList.append(j)
# SPLIT the LIST of XY
origList = rowColList
splitList = [origList[i:i+2] for i in range(0,len(origList),2)]
for number in range(len(grouped_list)):
    # separate RGBA into each own variables
    r = grouped_list[number][0]
    g = grouped_list[number][1]
    b = grouped_list[number][2]
    a = grouped_list[number][3]
    # separate XY coordinate
    x=splitList[number][0]
    y=splitList[number][1]
    # create cube at location XY
    bpy.ops.mesh.primitive_cube_add(location=(x-width/2, y-width/2, 0))
    selectedObject = bpy.context.selected_objects
    selectedObject[0].name = 'pixelcube.%s' % number
    selectedObject[0].scale = 0.45, 0.45, 0.45
    # add material with RGB color as sampled for every pixel
    mat = bpy.data.materials.new('pixelColor')
    mat.diffuse_color = (r,g,b)
    mat.diffuse_shader = 'LAMBERT'
    mat.diffuse_intensity = 1.0
    #mat.emit=0.5
    bpy.context.object.data.materials.append(mat)
    print ('PixelCube {number} created at:'.format(number=number), x, y, ', with RGB color', r, g, b)
9) Ouvrir le script :
– [Text]
– [Open Text Block]
– Sélectionner le script : pixelart.txt
– [Open Text Block]
10) Lancer le script :
– [Text]
– [Run Script]
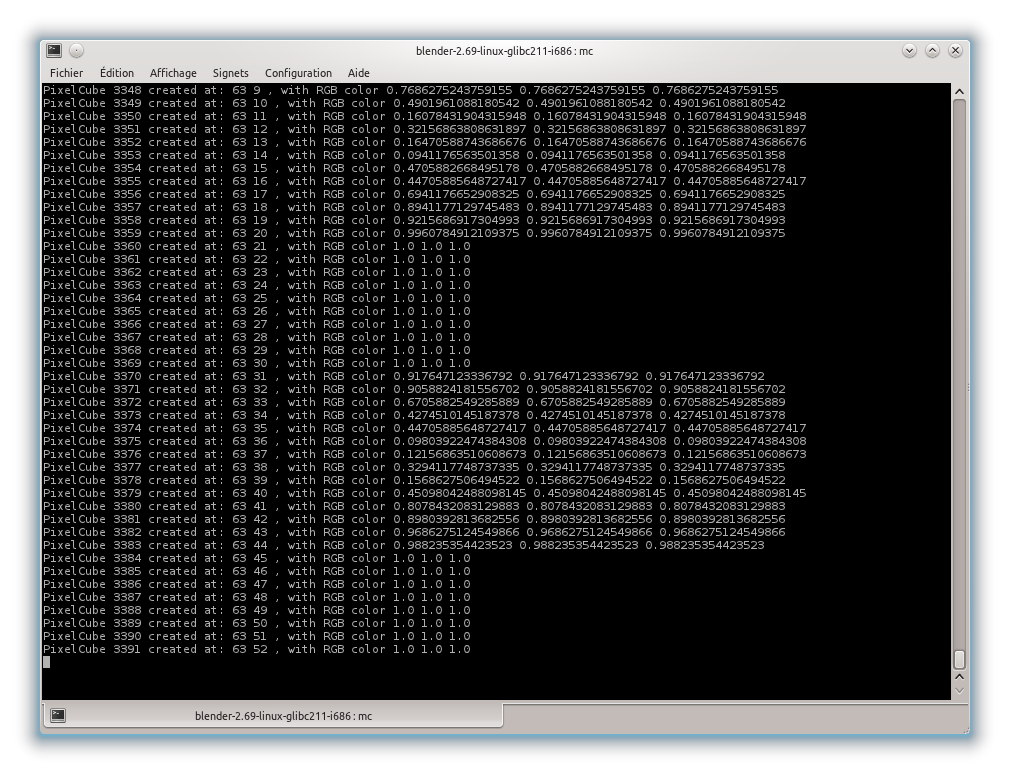
Le traitement se déroule dans la console.
11) Visualiser le résultat :
– [3d View]
Sans modifications des éléments de la scène :
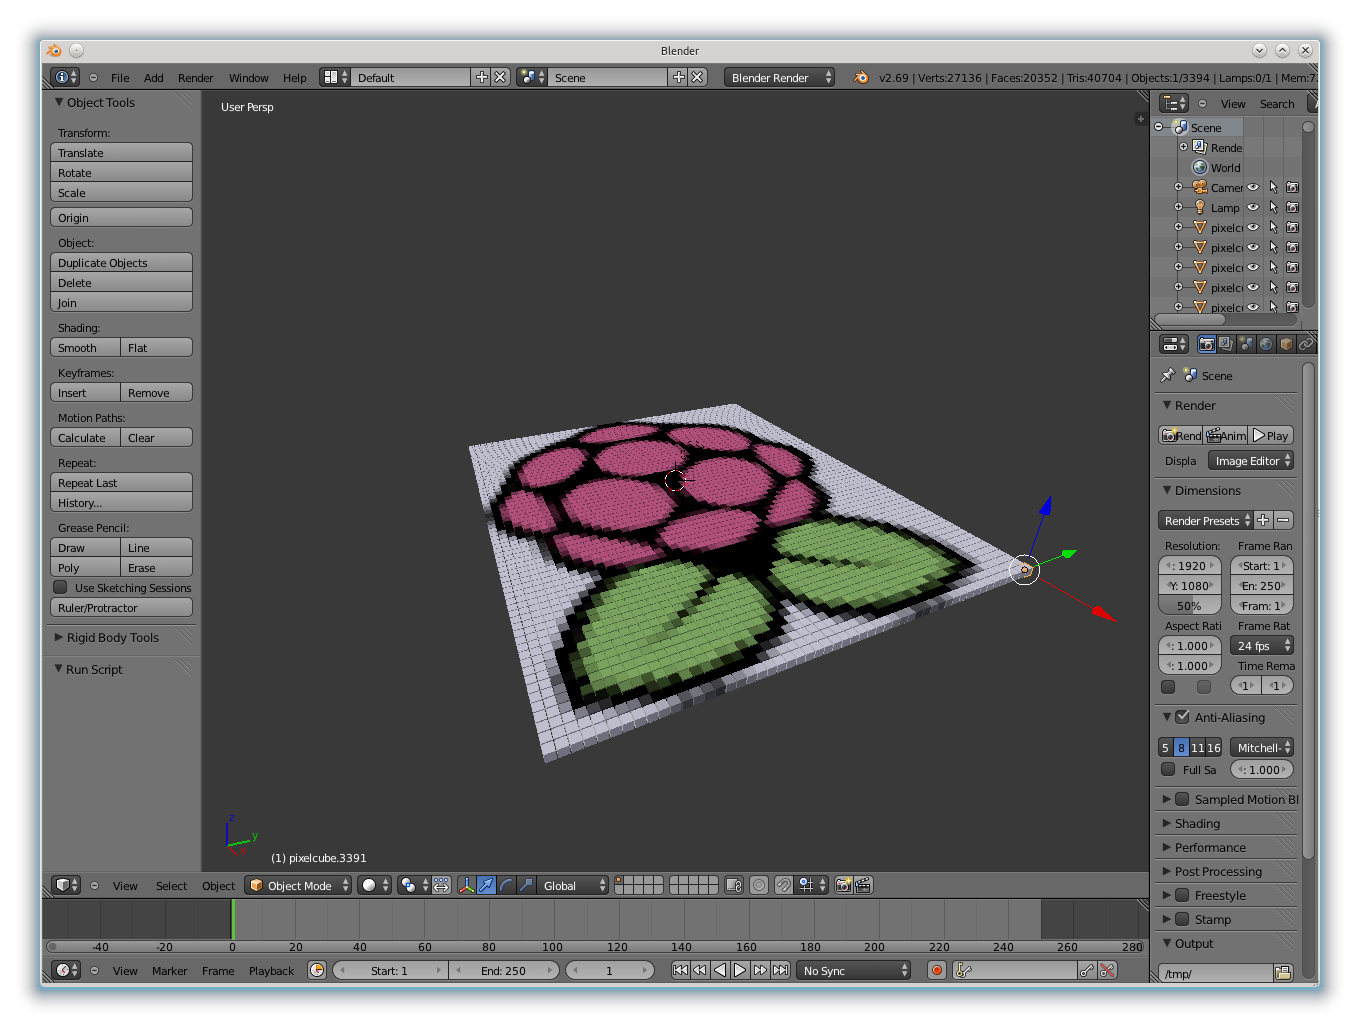
– Premier rendu de test de l’image :
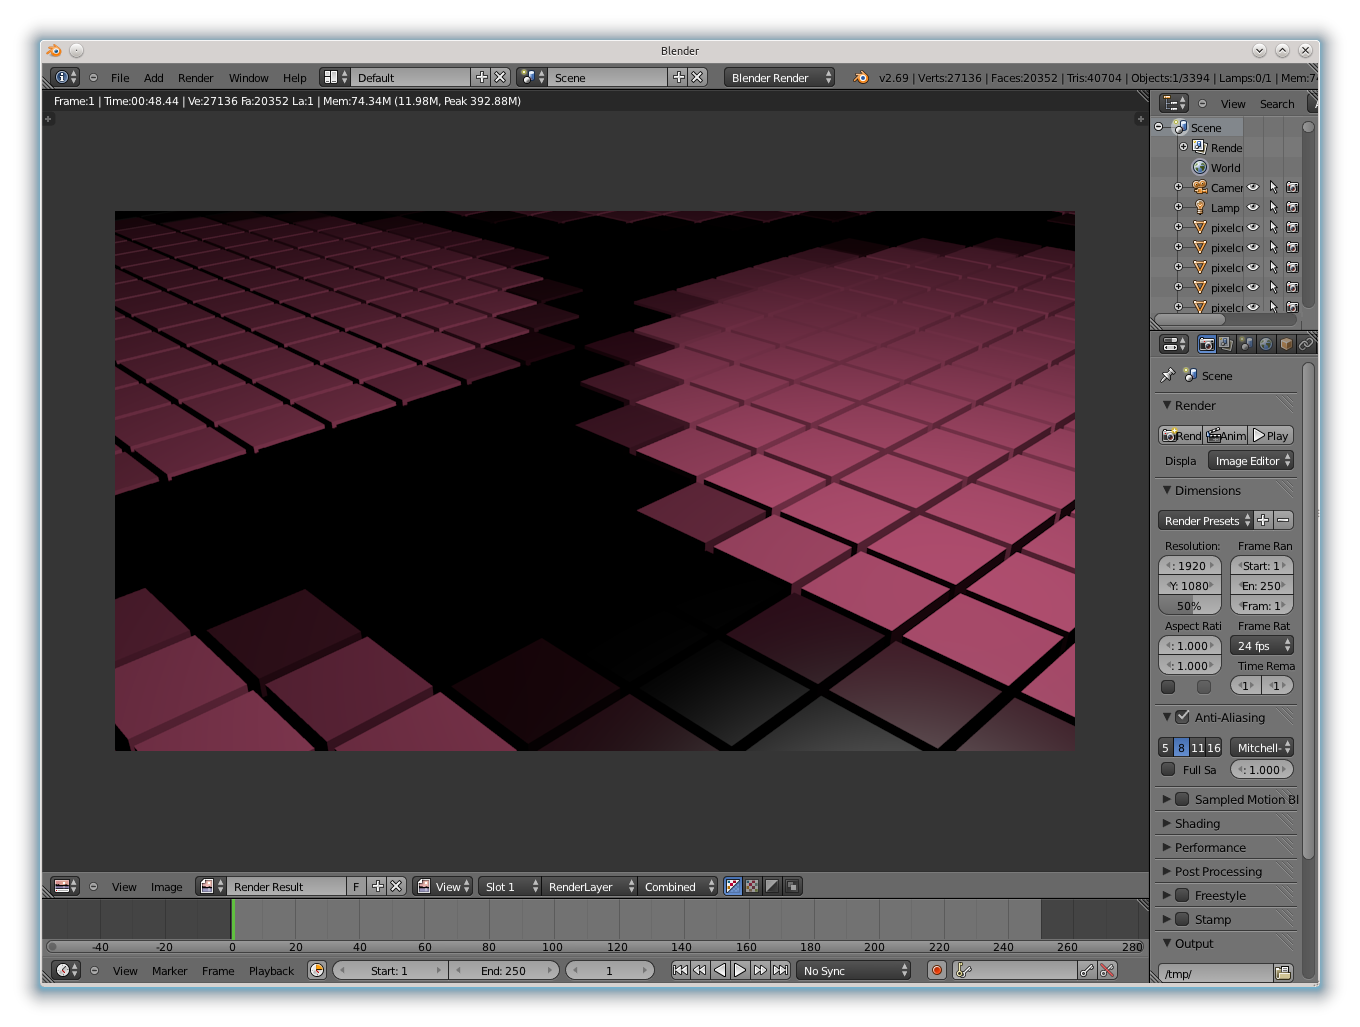
Avec modifications de la position de la caméra :

Rendu :

12) Le fichier .blend :
Original : raspberrypi_logo_pixelart.orig.blend.tar.gz
Modifier : raspberrypi_logo_pixelart.v1.blend.tar.gz
13) Prochaine amélioration :
– Ajouter une lumière ambiante.
– Changer la position de la caméra.
– Faire une animation.
14) Lien :
http://blendersushi.blogspot.fr/2013/03/python-pixel-art-in-blender.html