Installation de NeXTSTEP 3.3 avec l’émulateur Bochs.
1) Répertoire de travail :
[~] ➔ mkdir NEXTSTEP
[~] ➔ cd NEXTSTEP/
[~/NEXTSTEP] ➔
2) Installation et compilation de Bochs :
– Téléchargement de l’émulateur :
[~/NEXTSTEP] ➔ wget http://downloads.sourceforge.net/project/bochs/bochs/2.6.8/bochs-2.6.8.tar.gz
[~/NEXTSTEP] ➔ tar xvfz bochs-2.6.8.tar.gz
– Compilation et installation :
[~/NEXTSTEP] ➔ cd bochs-2.6.8/
[~/NEXTSTEP/bochs-2.6.8] ➔ ./configure && make && sudo make install
[~/NEXTSTEP/bochs-2.6.8] ➔ cd ..
3) Répertoire de travail :
[~/NEXTSTEP] ➔ cd nextstep/
[~/NEXTSTEP/nextstep] ➔
4) Préparation des fichiers d’installation :
– Téléchargement :
[~/NEXTSTEP/nextstep] ➔ wget http://download.info.apple.com/Apple_Support_Area/Apple_Software_Updates/MultiCountry/Enterprise/nextstep/floppyimages/3.3_Beta_Drivers.floppyimage
[~/NEXTSTEP/nextstep] ➔ wget http://download.info.apple.com/Apple_Support_Area/Apple_Software_Updates/MultiCountry/Enterprise/nextstep/floppyimages/3.3_Boot_Disk.floppyimage
[~/NEXTSTEP/nextstep] ➔ wget http://download.info.apple.com/Apple_Support_Area/Apple_Software_Updates/MultiCountry/Enterprise/nextstep/floppyimages/3.3_Core_Drivers.floppyimage
– Renommage :
[~/NEXTSTEP/nextstep] ➔ mv 3.3_Beta_Drivers.floppyimage beta
[~/NEXTSTEP/nextstep] ➔ mv 3.3_Boot_Disk.floppyimage boot
[~/NEXTSTEP/nextstep] ➔ mv 3.3_Core_Drivers.floppyimage core
5) Image du système d’exploitation NeXSTEP :
– Téléchargement :
[~/NEXTSTEP/nextstep] ➔ cp ~/Téléchargements/OpenStep-NeXTStep/NeXTStep\ 3.3\ User/NeXTSTEP\ 3.3\ User\ \(m68k\,\ i386\).img.gz .
[~/NEXTSTEP/nextstep] ➔ gzip -d NeXTSTEP\ 3.3\ User\ \(m68k\,\ i386\).img.gz
– Renommage :
[~/NEXTSTEP/nextstep] ➔ mv NeXTSTEP\ 3.3\ User\ \(m68k\,\ i386\).img nextstep33.img
6) Création d’un disque dur :
[~/NEXTSTEP/nextstep] ➔ bximage
========================================================================
                                bximage
  Disk Image Creation / Conversion / Resize and Commit Tool for Bochs
         $Id: bximage.cc 12690 2015-03-20 18:01:52Z vruppert $
========================================================================
1. Create new floppy or hard disk image
2. Convert hard disk image to other format (mode)
3. Resize hard disk image
4. Commit 'undoable' redolog to base image
5. Disk image info
0. Quit
Please choose one [0] 1
Create image
Do you want to create a floppy disk image or a hard disk image?
Please type hd or fd. [hd]
What kind of image should I create?
Please type flat, sparse, growing, vpc or vmware4. [flat]
Enter the hard disk size in megabytes, between 10 and 8257535
[10] 3000
What should be the name of the image?
[c.img] ns33.img
Creating hard disk image 'ns33.img' with CHS=6095/16/63
The following line should appear in your bochsrc:
  ata0-master: type=disk, path="ns33.img", mode=flat
Lien :
http://bochs.sourceforge.net/doc/docbook/user/diskimagehowto.html
7) Fichier de configuration :
Ouvrir :
bochsrc
Ajouter :
# bochsrc
#
megs: 512
#
mouse: enabled=1
#
#
floppya: 1_44="boot", status=inserted
ata0-master: type=disk, path="ns33.img", mode=flat, cylinders=609, heads=16, spt=63
ata1-master: type=cdrom, path=./nextstep33.img, status=inserted
#
keyboard: keymap=/usr/local/share/bochs/keymaps/x11-pc-fr.map
#
log: bochsout.txt
#
boot: floppy
8) Lancer Bochs :
[~/NEXTSTEP/nextstep] ➔ bochs -q
9) Désactiver le focus de la souris dans la fenêtre Bochs : [Ctrl] Gauche + Bouton Souris Milieu
10) Changement de disquette :
Cliquer sur l’icône [CONFIG] en haut à droite de la fenêtre Bochs.
Par exemple pour changer :
– La disquette des pilotes/drivers : core
---------------------
Bochs Runtime Options
---------------------
1. Floppy disk 0: boot, size=1.44M, inserted
...
9. Continue simulation
...
Please choose one:  [9] 1
------------------
First Floppy Drive
------------------
Enter new filename, or 'none' for no disk: [boot] core
What type of floppy media? (auto=detect) [1.44M]
Is media write protected? [no]
Is the device inserted or ejected? [inserted]
---------------------
Bochs Runtime Options
---------------------
1. Floppy disk 0: boot, size=1.44M, inserted
...
9. Continue simulation
...
Please choose one:  [9]
Continuing simulation
– l’autre disquette de pilote/driver : beta
---------------------
Bochs Runtime Options
---------------------
1. Floppy disk 0: boot, size=1.44M, inserted
...
9. Continue simulation
...
Please choose one:  [9] 1
------------------
First Floppy Drive
------------------
Enter new filename, or 'none' for no disk: [core] beta
What type of floppy media? (auto=detect) [1.44M]
Is media write protected? [no]
Is the device inserted or ejected? [inserted]
---------------------
Bochs Runtime Options
---------------------
1. Floppy disk 0: boot, size=1.44M, inserted
...
9. Continue simulation
...
Please choose one:  [9]
Continuing simulation
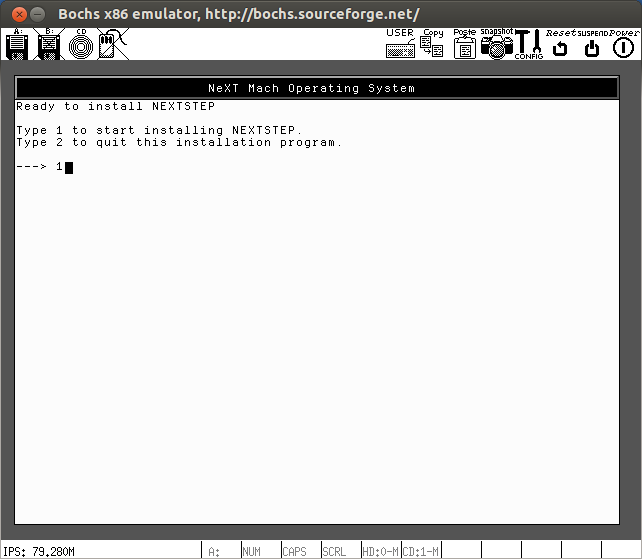
11) Préparation à l’installation de NeXSTEP :
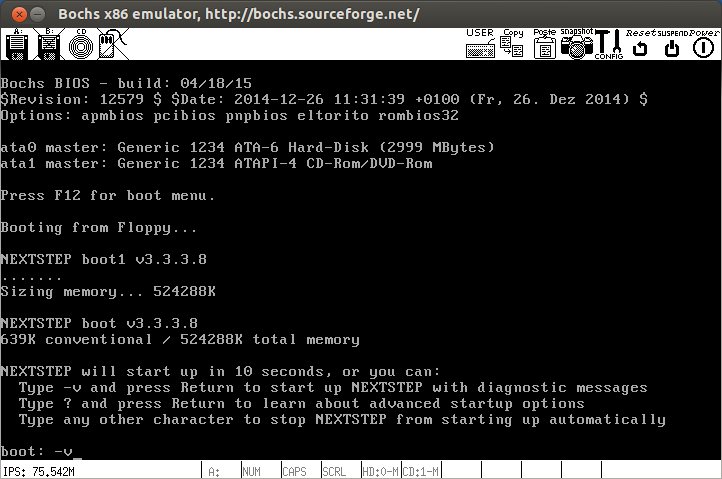
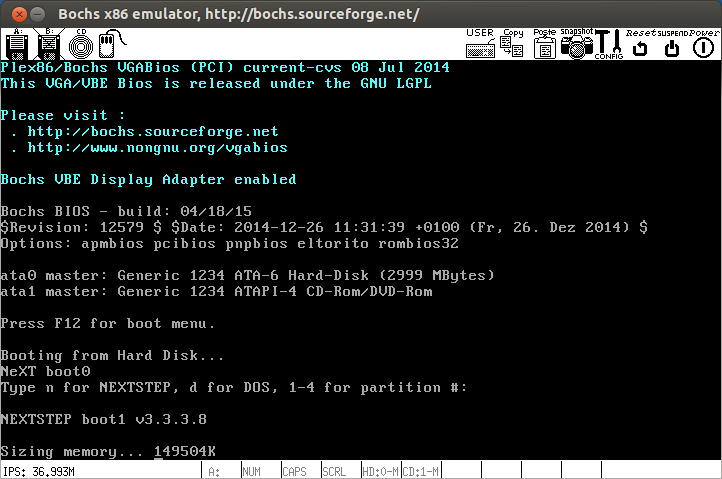
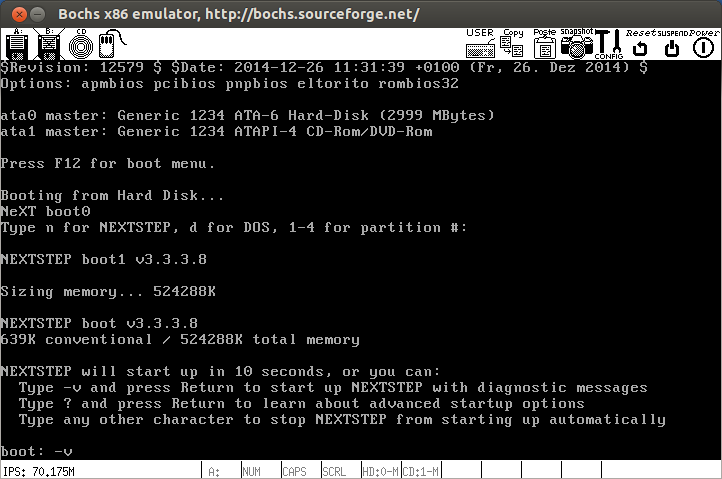
– 1er démarrage :
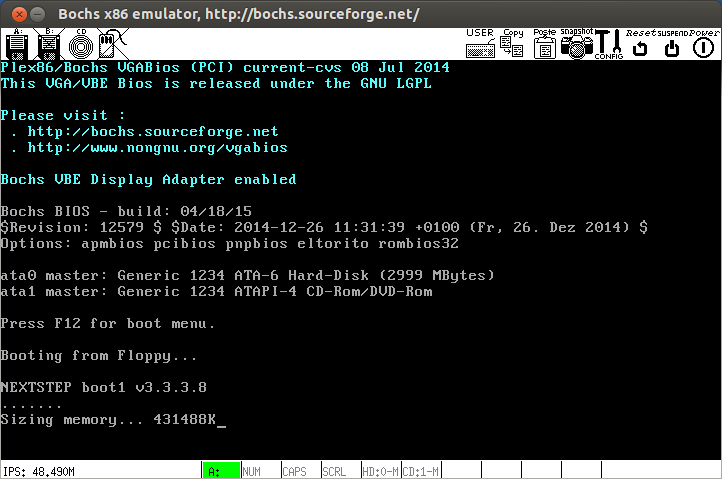
– Mettre en mode bavard : -v
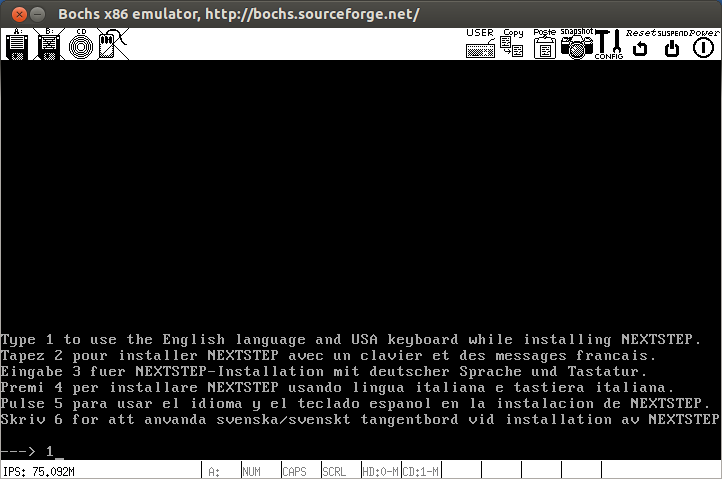
– Sélection de la langue d’installation, ici en anglais : 1
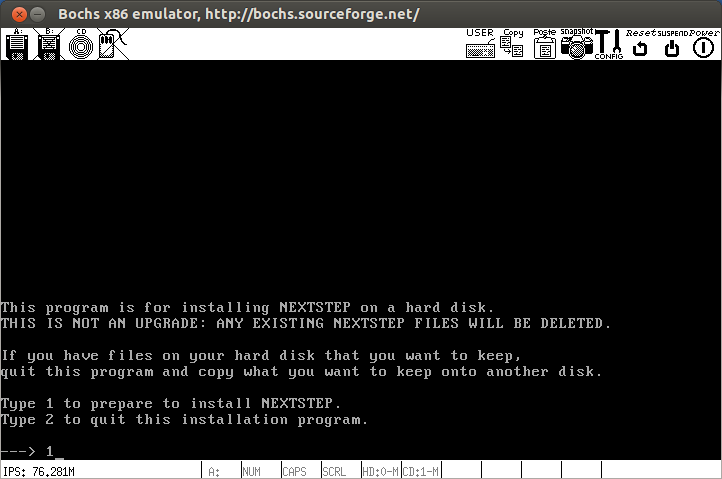
– Préparation de l’installation de NeXSTEP : 1
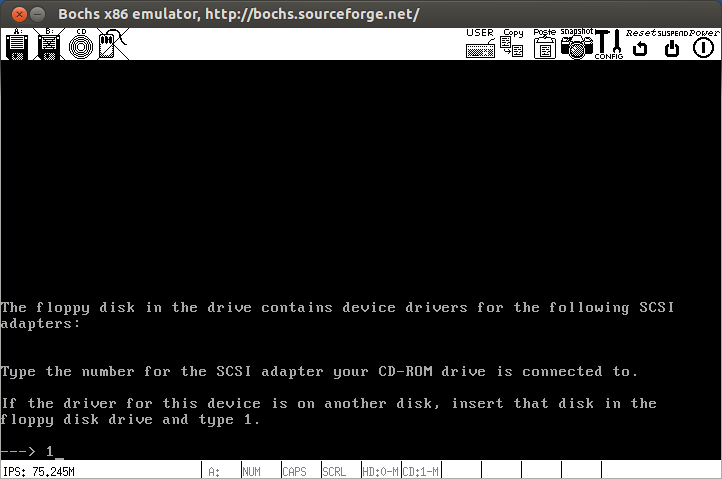
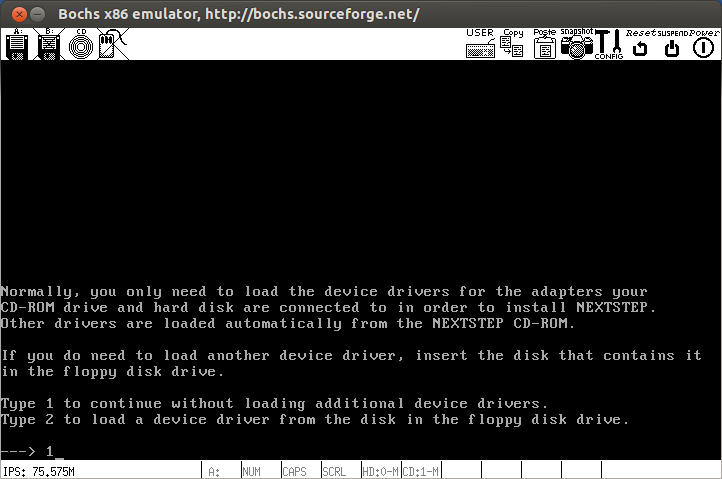
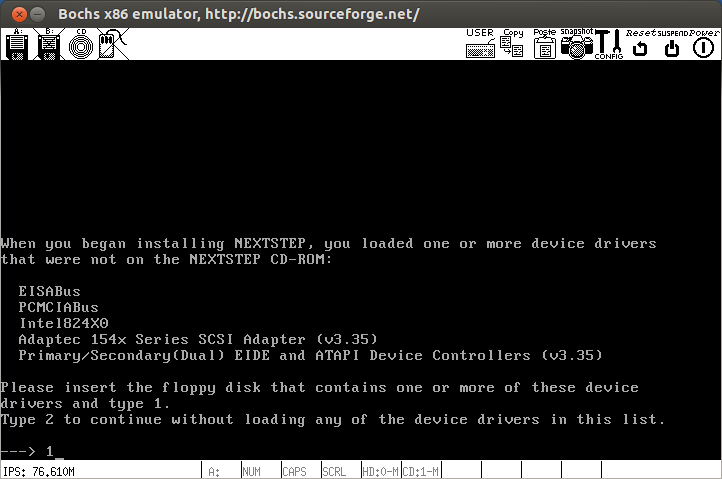
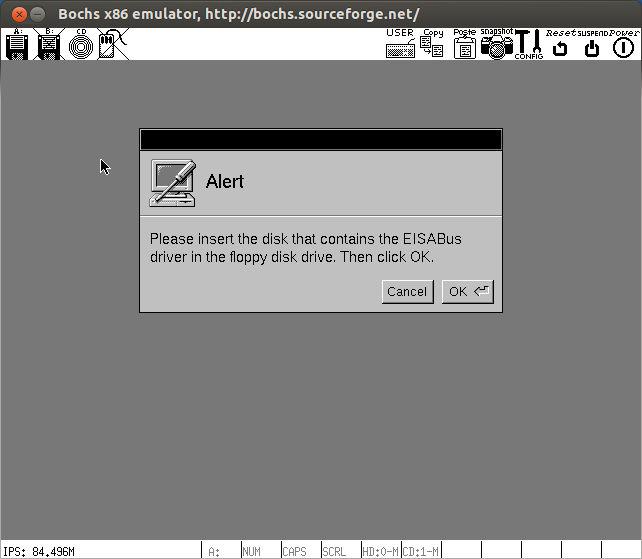
– Insérer le disquette : core
Puis continuez : 1
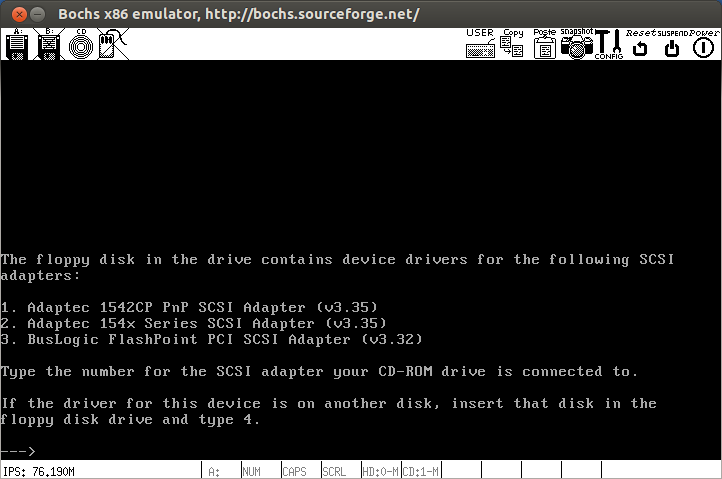
– Sélectionner : Adaptec 154x Serie » : 1
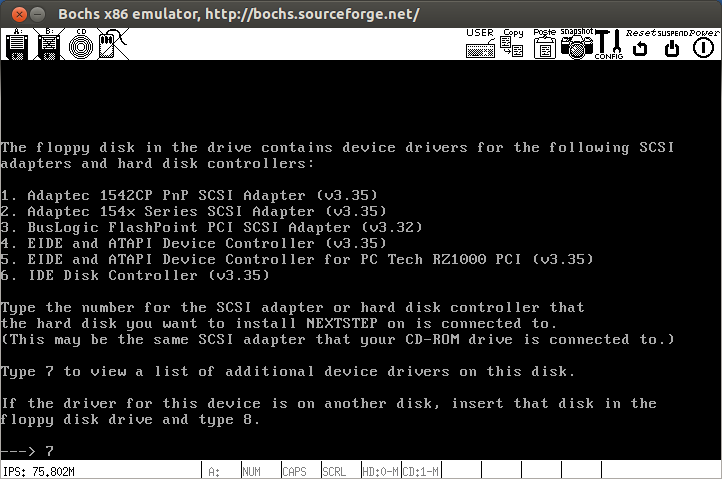
– Sélectionner d’autre pilote : 7
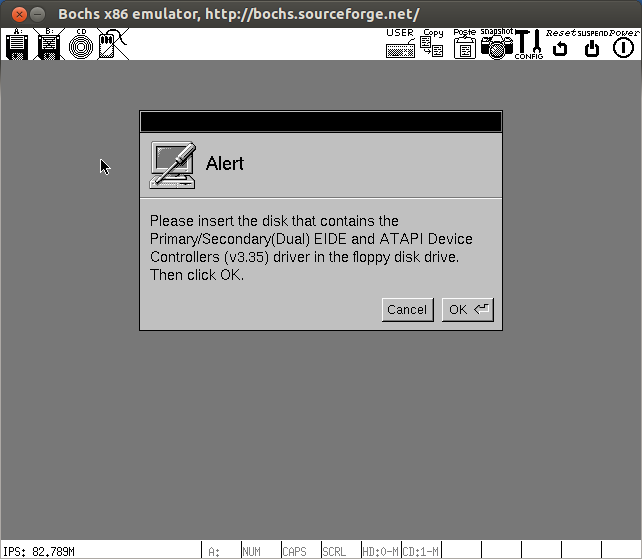
Insérer le disquette : beta
– Sélectionner « Primary/Secondary (Dual) EIDI and ATAPI » : 2
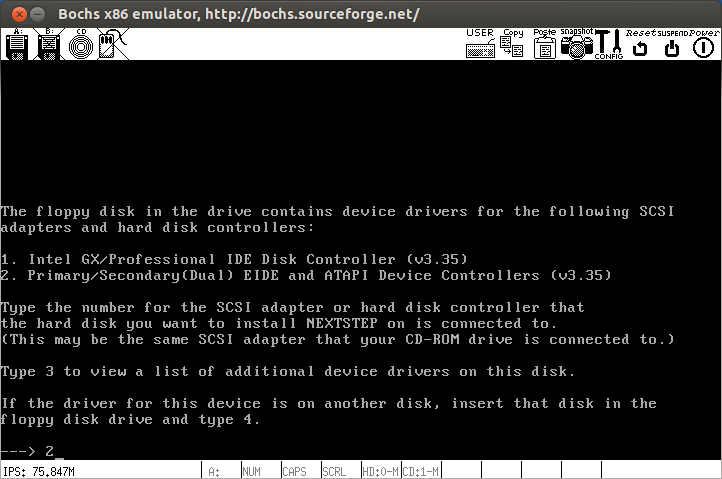
– Continuer : 1
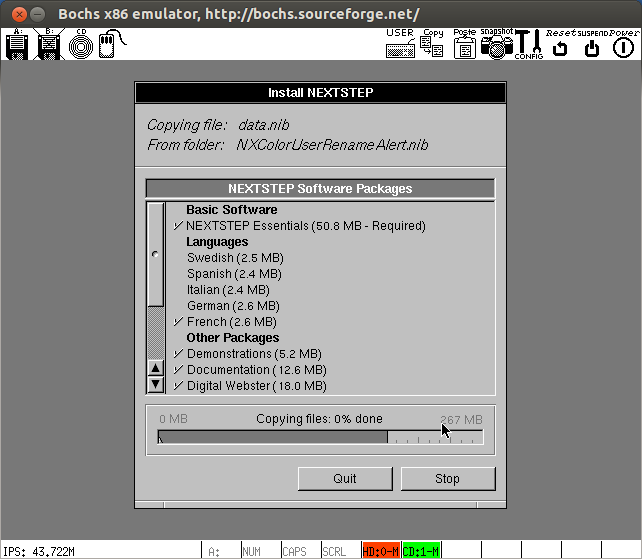
12) Installation de NeXTSTEP :
– Choisir l’installation avancée : 2
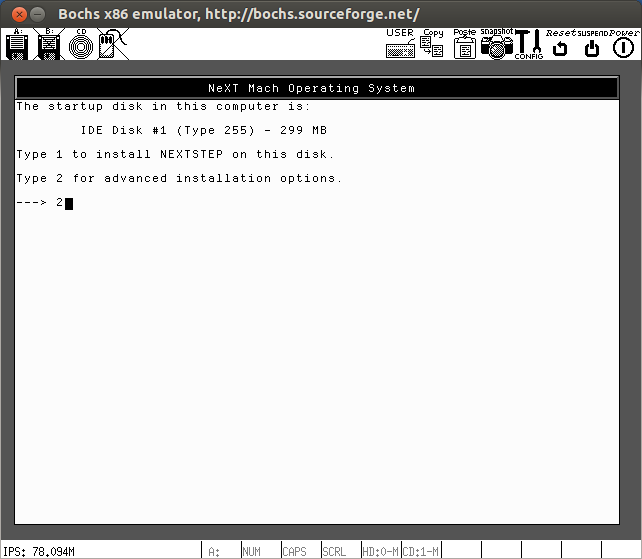
– Choisir le numéro du disque du dur : 1

– Partitionnement du disque dur : 2
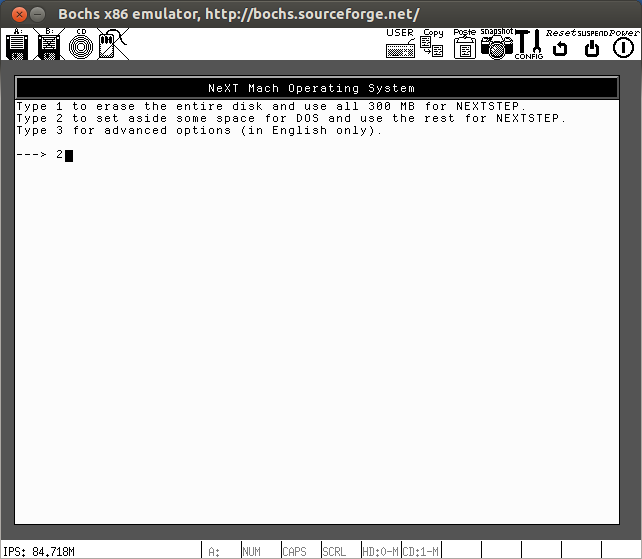
– Taille de la partition DOS : 32
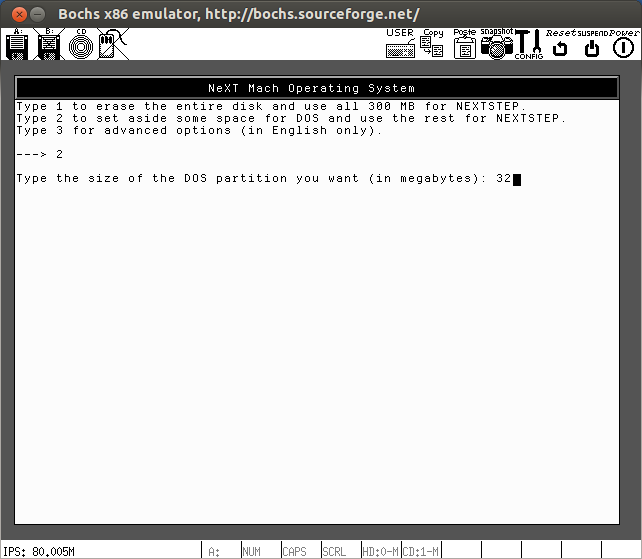
– Partition pour NeXTSTEP : 3

– Démarrage de l’installation : 1
– Déroulement de l’installation :
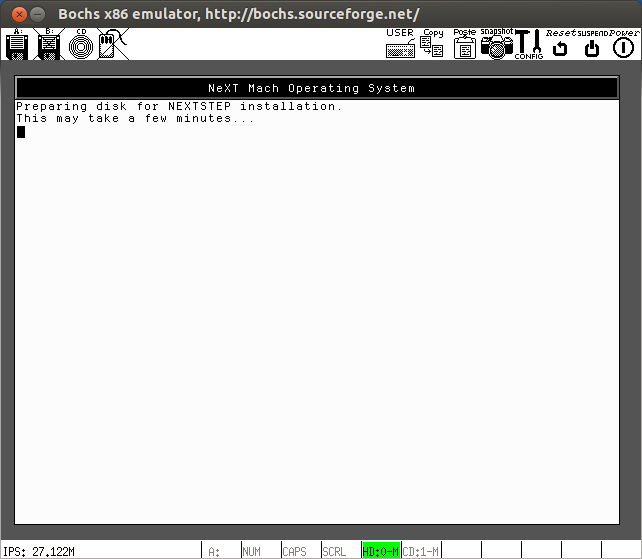

– Terminé l’installation : Entrée

13) Configuration du démarrage de l’installation de NeXSTEP à partir du disque dur :
Ouvrir :
bochsrc
Ajouter :
# bochsrc
#
megs: 512
#
mouse: enabled=1
#
#
floppya: 1_44="core", status=inserted
ata0-master: type=disk, path="ns33.img", mode=flat, cylinders=609, heads=16, spt=63
ata1-master: type=cdrom, path=./nextstep33.img, status=inserted
#
keyboard: keymap=/usr/local/share/bochs/keymaps/x11-pc-fr.map
#
log: bochsout.txt
#
boot: disk
14) Lancer Bochs :
[~/NEXTSTEP/nextstep] ➔ bochs -q
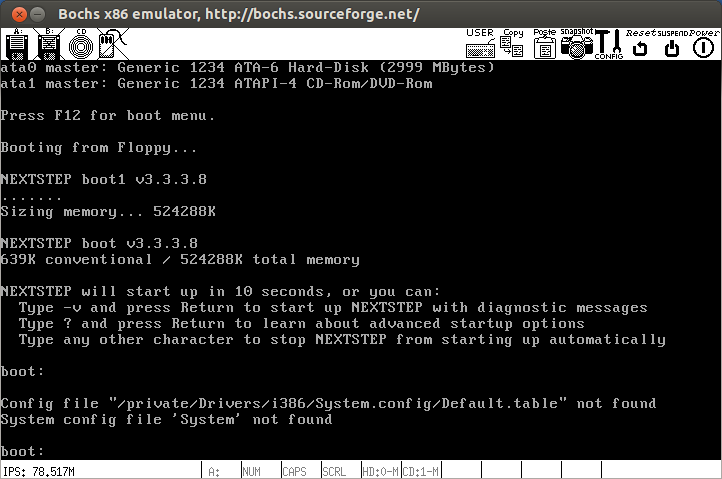
– Activer le mode verbeux : -v
– Insérer la disquette : core
Puis : 1
– Insérer la disquette : beta
Puis : 1

– Déroulement de l’installation :

– Appuyer sur : Entrée
– Appuyer sur : Entrée
– Page de configuration de l’écran et la carte son :
Cliquer sur l’icône [Ecran] :

– Sélectionner : Default VGA Adapter (v3.30)
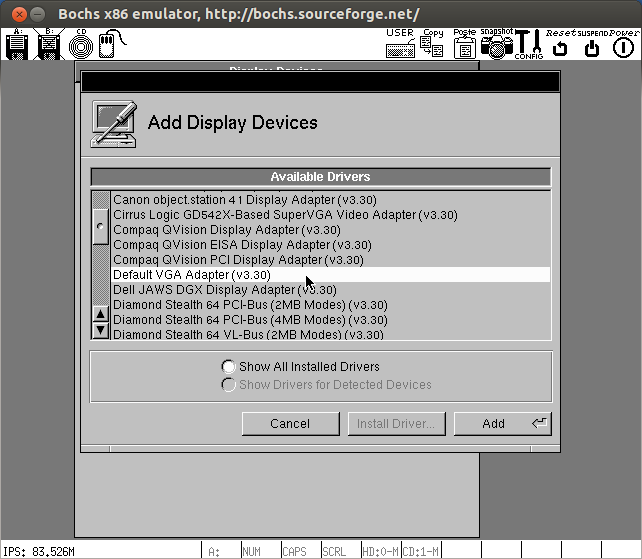
Puis cliquer sur [Add]

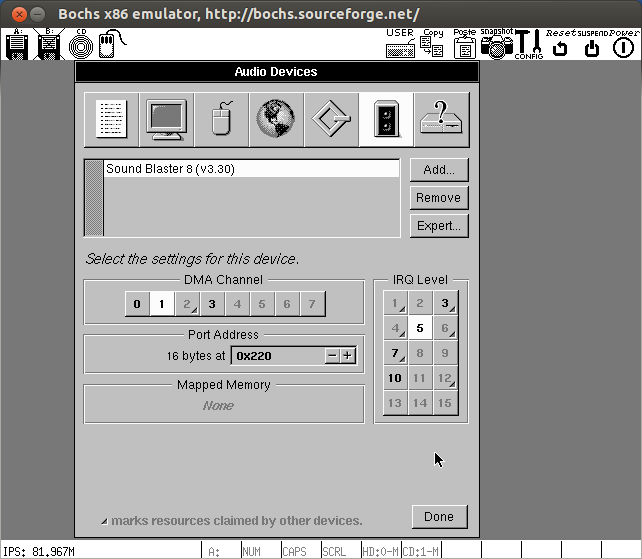
– Cliquer sur l’icône [Son] :
Sélectionner : Sound Blaster 16 (v3.30)
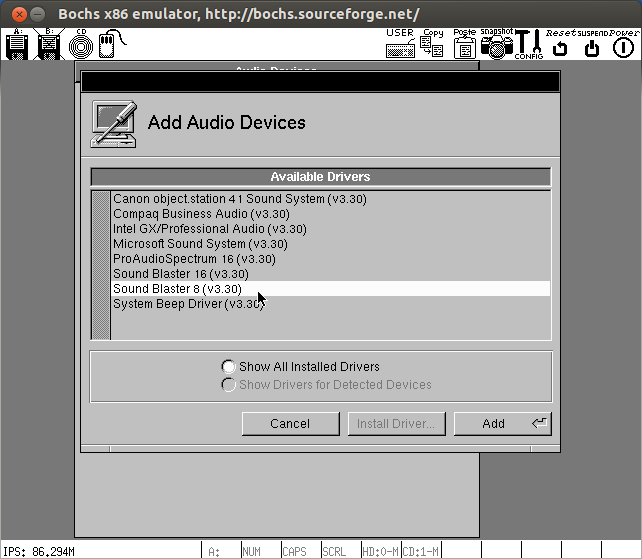
Puis cliquer sur : [Add]
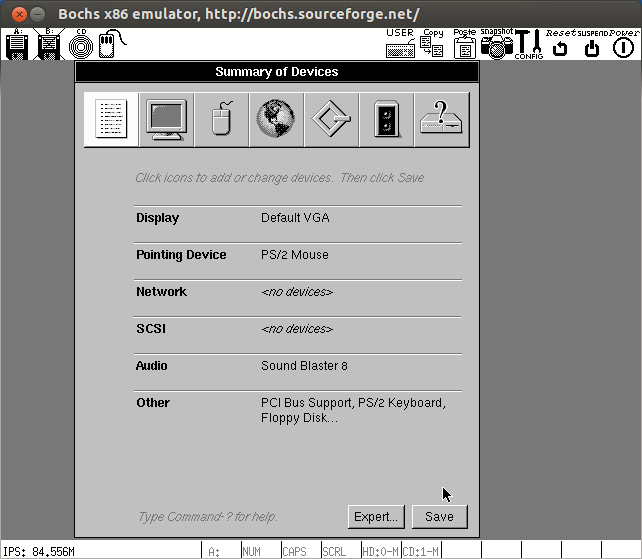
– Résumé de la configuration :
Cliquer sur : [Save]
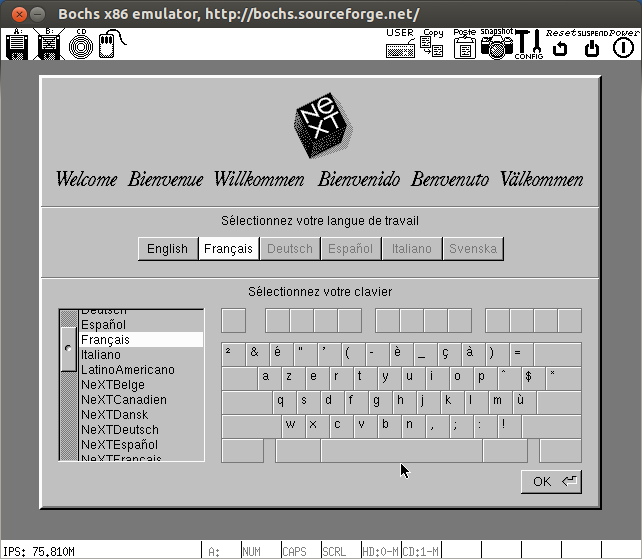
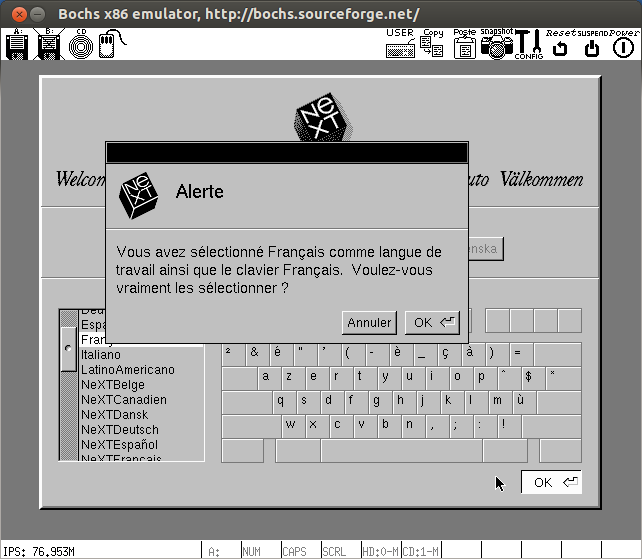
– Sélectionner la langue : French
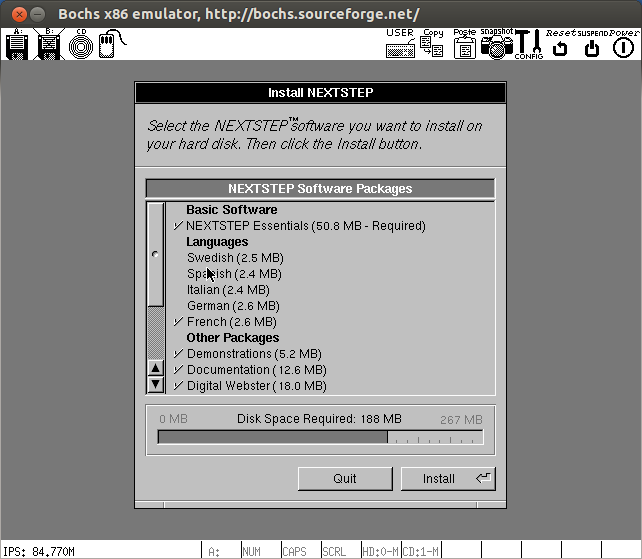
-Cliquer sur : [Install]

– Appuyer sur : [Entrée]

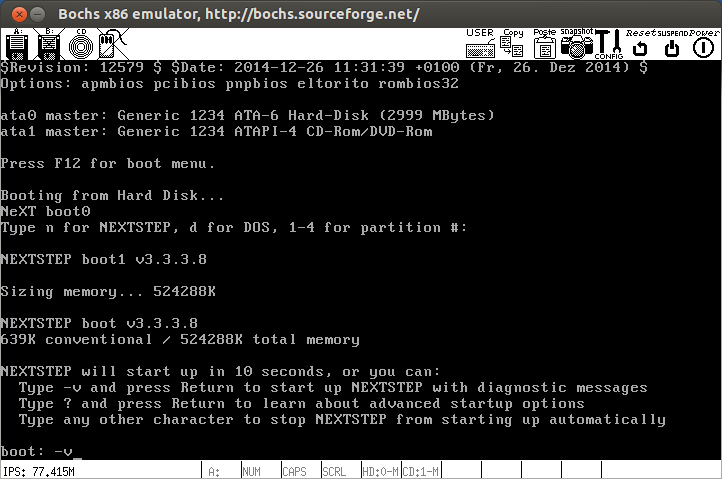
15) Démarrage :
[~/NEXTSTEP/nextstep] ➔ bochs -q
– Activer le mode verbeux : -v
– Sélectionner le clavier : Français
– Appuyer sur [Entree] :
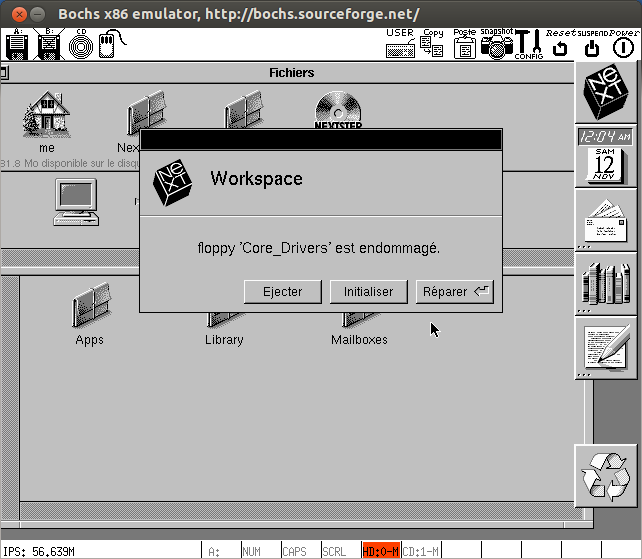
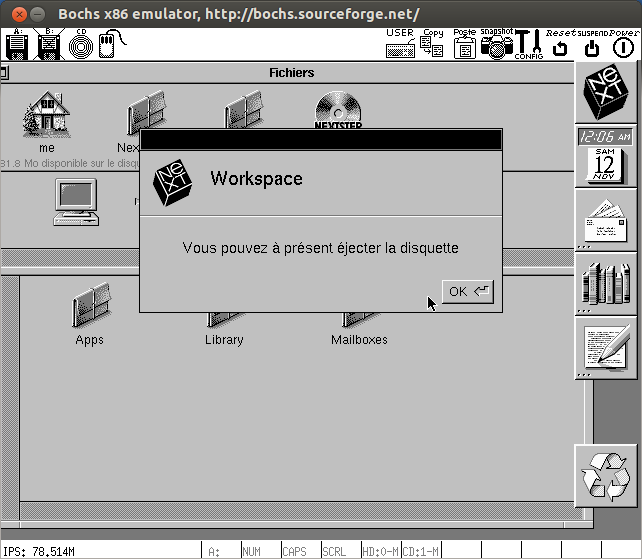
– Ejecter la disquette :
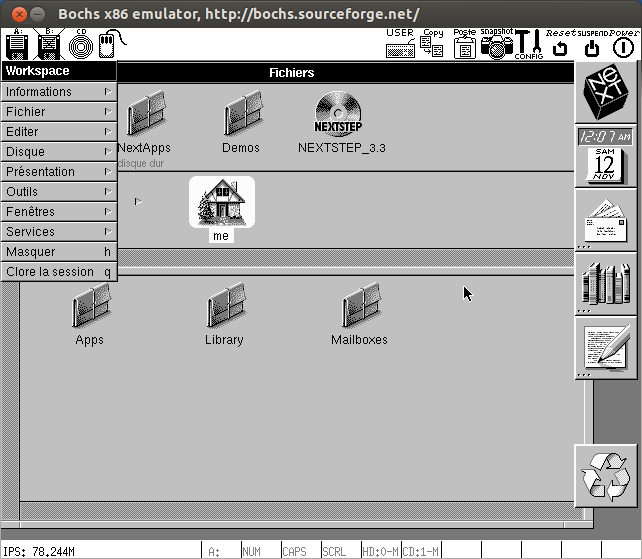
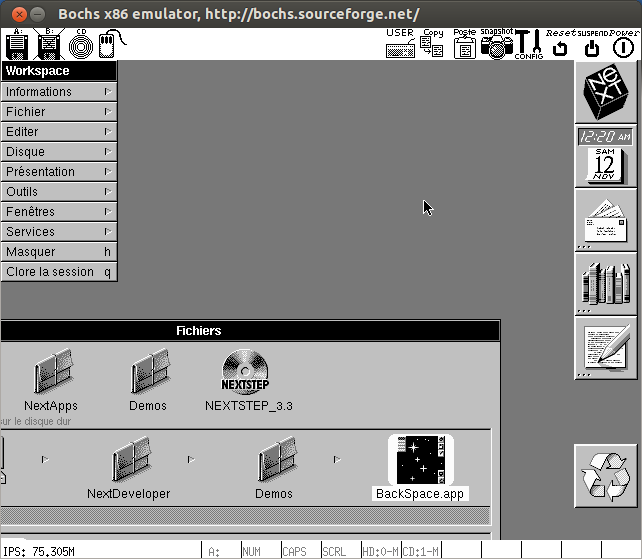
16) Le bureau de NeXTSTEP :
17) Lien :
http://gunkies.org/wiki/Installing_NeXTSTEP_on_Qemu
Comments are closed, but trackbacks and pingbacks are open.